Printmaking: Intaglio: Drypoint
In my visual studies class I did a perspective drawing so for my printmaking class I am going to attempt to reproduce this drawing in each medium, for the engraving exercise I am using the dry point technique to engrave the images onto an 8x10 copper plate.
Last Friday I had my second printmaking class. We started our drypoint engraving exercise. We started with an 8x10 piece of roofing copper. First we filed the edges at a 45 degree angle and rounded the corners. This is so later in the printing process the paper and cloth doesn't tear.
Because the copper was intended for roofing, it didn't have the greatest finish. We used some type of liquid polish applied with a piece of heavy felt. The polish was applied until it turned dark brown, and then wiped it off with a cotton cloth. Then repeated this step. I have read online that this can also be accomplished using a few drops of oil, steel wool and 2000 grit sand-paper.
My goal is to create an dry point engraving of my perspective drawing. So I created a basic outline using a soft pencil (4B) and I cleaned the plate with denatured alcohol then treated the copper with a liquid hard ground solution, and heated the plate for 4 minutes at 250 degrees. The recommended time was 3 minutes, but the heating surface had just be turned on, so I added an extra minute. The plate was dropped in a water bath to shock it, and then dryer with a hair dryer set on cool. After the plate cooled the drawing was pressed onto the copper and I used the dry point toolto scratch along the lines.
Once I had a suitable starting point, the plate was washed with soy-solve and then soap and water. Over the next week I continued to work on the piece and created and engraving suitable for a first printing.
Last night was our third class. We started the night by tearing paper to the desired size. I started with a 24x30 sheet and tore it into 6 10x12 pieces, using a rule and tear bar.
The paper actually has a printing and non-print side, I made a small pencil mark on the non printing side and placed a piece of the paper in a tray of water for 10 minutes. Damp paper is required to remove the ink from the incised lines when taking the print.
The length of time to soak the paper, depends on the paper. For the "Reed" we were using, 10 minutes was the prescribed time. After 10 minutes the paper for removed and the excess water dripped off. Then it was placed on a towel an half the towel was folded over it. I them used a rolling pin to remove excess water. The paper should only be damp, not saturated.
While the paper was soaking, the copper plate was inked.
Inking
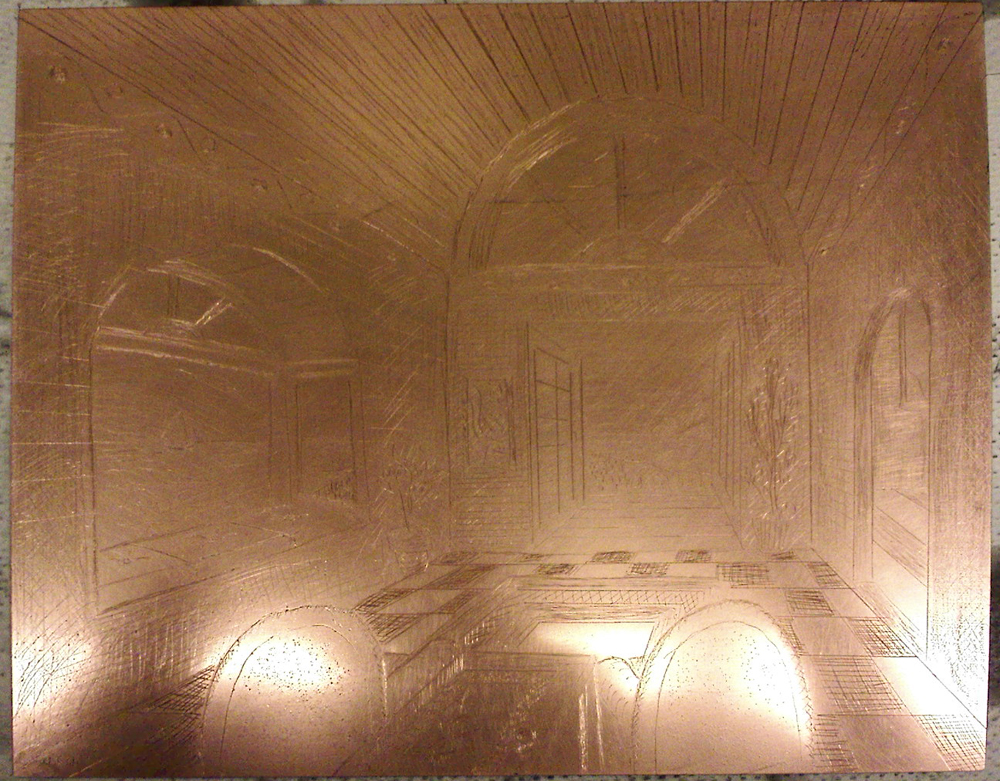
On a glass plate a small amount of inked was "smeared" and then repeatively worked with a small putty knife to achieve the correct viscosity, oil may be added if the ink is a little dry. Next, using small pieces of matte board the ink is spread on the copper plate until completely covered, and then using the matte board, the excess is scaped off. The plate is then rubbed with a felt blotter to force the ink into the incised lines and remove more excess ink. Next the excess ink still remaining is removed with a cheese cloth and finally the last unwanted residues are removed with newspaper of telephone book pages. At this stage the plate is just lightly rubbed.After all of this you have an inked copper plate suitable for printing. (This is actually a image of the plate from the third printing)
Printing
To make the print, a piece of news print paper was placed on the bed of the printing press, the copper plate was placed on top off it, followed by the dampened paper, make sure you can see you pencil mark. The side you want printed needs to be on the engraved plate, obviously. Then place a second news print paper, followed by the three printing blankets, the first is a sizing cloth, followed by a thick felt cloth, which distributes the printing pressure, and the third or top blanket, or swanskin, is used to provide some extra gentle pressure and is grabbed by the roller as the bed is wound through the press.
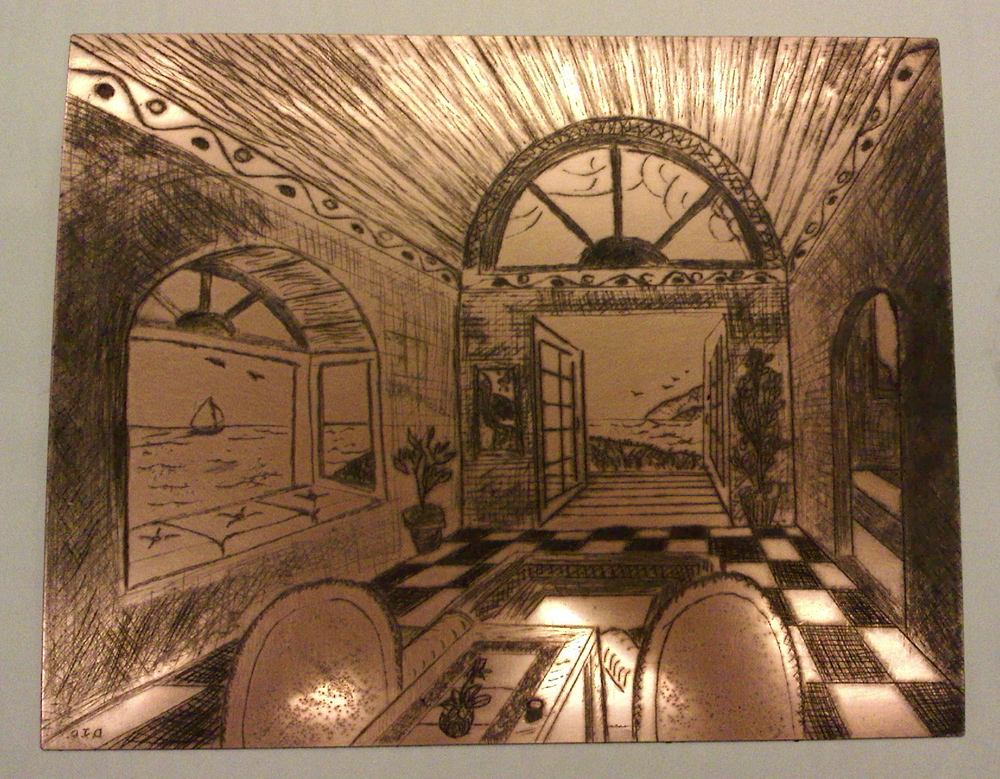
This is a picture of the first printing
Most of the lines were not deep enough, and I needed to add more tone to different parts of the image to differentiate between the inside and outside of the picture. I needed darker tones inside and lighter tones outside.
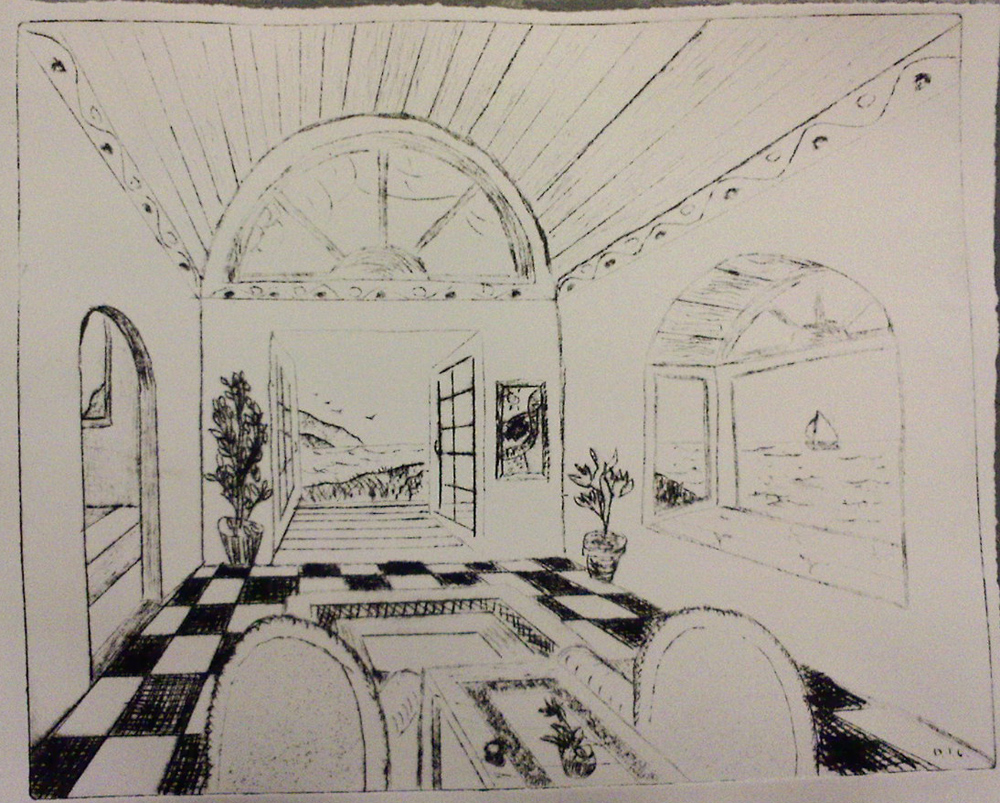
Using the soy-solve, I removed the ink from the plate, washed it and then using the dry point started working on the problem areas. I added more tone around the bay window, walls and ceiling.
The following is the second print:

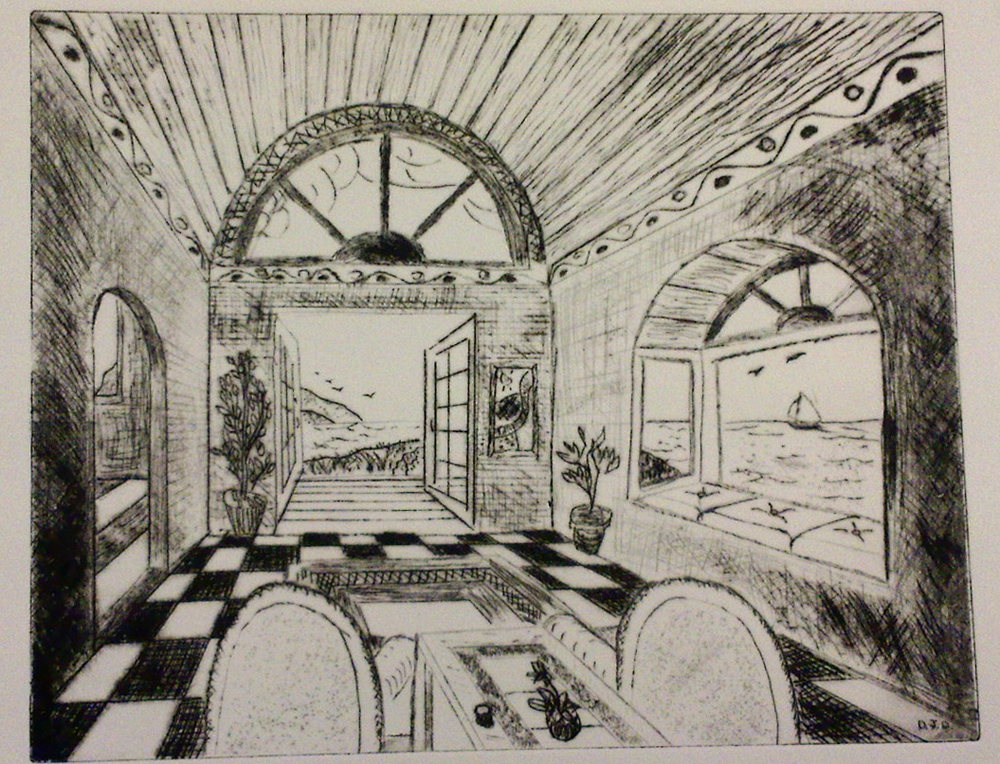
The second print was looking better. But decided more contrast was needed on the arched window frames and I reworked the walls a little and deepened the lines on small potted plant. As the class ended I was able to make this third print:
At this point the engraving is about were I want it, but now need to practice applying the ink. An in general, practice, practice, practice, but pleased with this first effort.
Here is a picture of the final, clean plate: