Lithography
The simple definition: Stone Printing - It was invented in 1796 by German author and actor Alois Senefelder, in the original process the image drawn on and printed from on what is now called lithograpic limestone. Today lithography can still be done on lithographic limestone, or on a flexible aluminum plate that has a polymer coating applied to it. The image can be printed directly from the plate (the orientation of the image is reversed), or it can be offset, by transferring the image onto a flexible sheet (rubber) for printing and publication. A third choice is Polyester Plate Lithography, a new and nontoxic form of lithographic printing develeoped by George Roberts while he was Professor of Printmaking at Boise State University.
The steps outline below are printing directly from an lithographic aluminum plate. Hopefully I be able to add future pages for lithography limestone and polyester plate.
Lithographic crayons are available in several forms and degrees of hardness. They can be obtained in short sticks, tablets, and pencils. A numbering system is employed to identify degrees of hatrdness, in the American Scale the hardness range is from #00,the softest and the greasiest, to #5, the hardest. In french scale: #5 is the softest and #00 is the greasiest. The very soft crayons and pencils produce rich, smoky black; the harder ones (containing less grease) produce the lighter and finer tones. Experience in drawing and printing will quickly indicate those grades best suited to individual needs. In these steps I used Korn's Litho Pencils: #4, #3 and #1 (French Scale).
Before starting the drawing the plate needed to be sized; the corners were rounded and the edges were deburred.
Next, we needed to Counteretch the plate, which makes sure that the plate is receptive to the grease in the crayons by counteretching the plate with an acidic solution (1/4 teaspoon of Citric Acid and 10oz of hot water), however since the water here is a harder water, just the hot water was sufficient. We grabbed several paper towels and holding the plate at an angle poured several ounces on the plate and then wiped the plate, pushing the water down. If the towel has a dark residue, then the process is repeated with a fresh towel, until all of the oxidized material is removed.
Next, quickly dry the plate with newsprint, and fan. If the plate dries slowly, it can re-oxidize.
During the entire printing process try not to touch the plate with you fingers, the oil residues left behind will show up in the final print.
Next, we brushed on a 1inch border of gum arabic. This provides a surface that can be touched as you work with the plate.
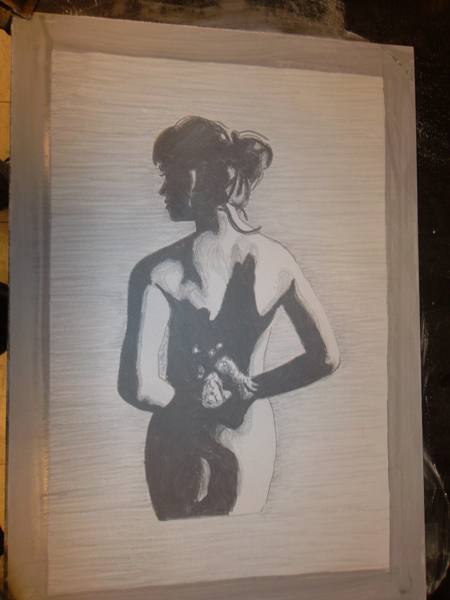
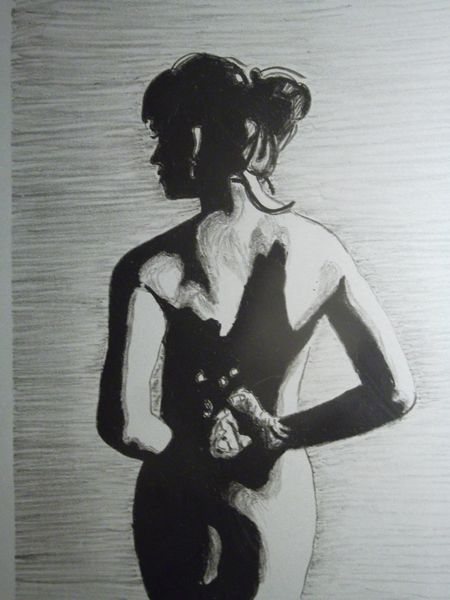
We needed to draw something, and I found these postcards in our class from last years student exhibition, so I chose to draw this as my first lithograph experiment.
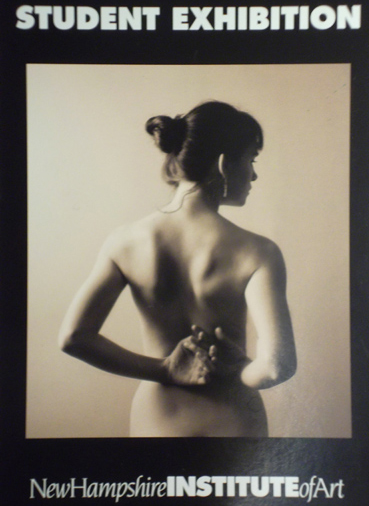
I scanned, reversed and cropped the image, and then print a full page version as a template to transfer to the plate. We used a special tracing paper that left a red outline on the plate, but you can also use a sanguine crayon or simply start your drawing with the lithocrayons.
Enlarged copy
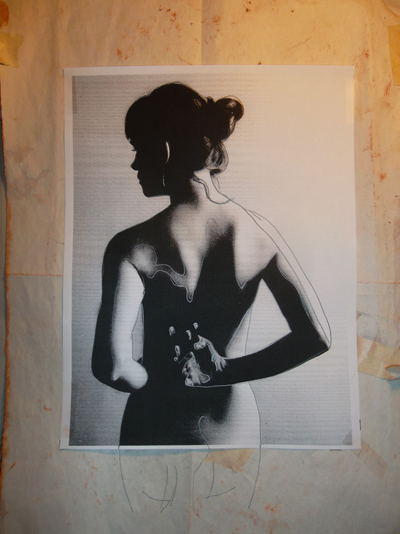
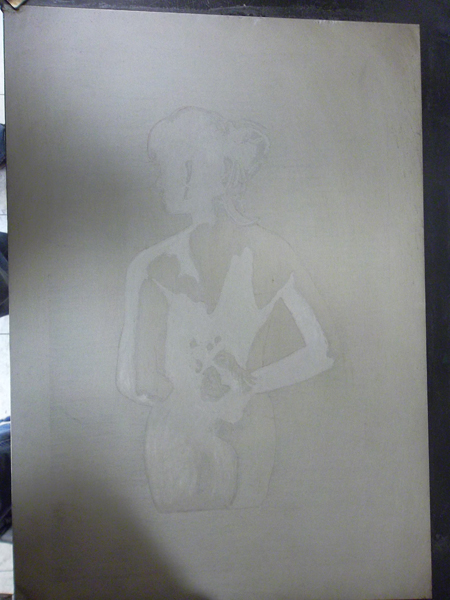
After taping the tranfer paper to the plate, and then centering the copy ontop of that, I traced over the the picture, and then using the #3 crayon, started lightly, and then repeatively built up the image. I used the #1 crayon to create the darkest areas, and the #4 for the lightest.
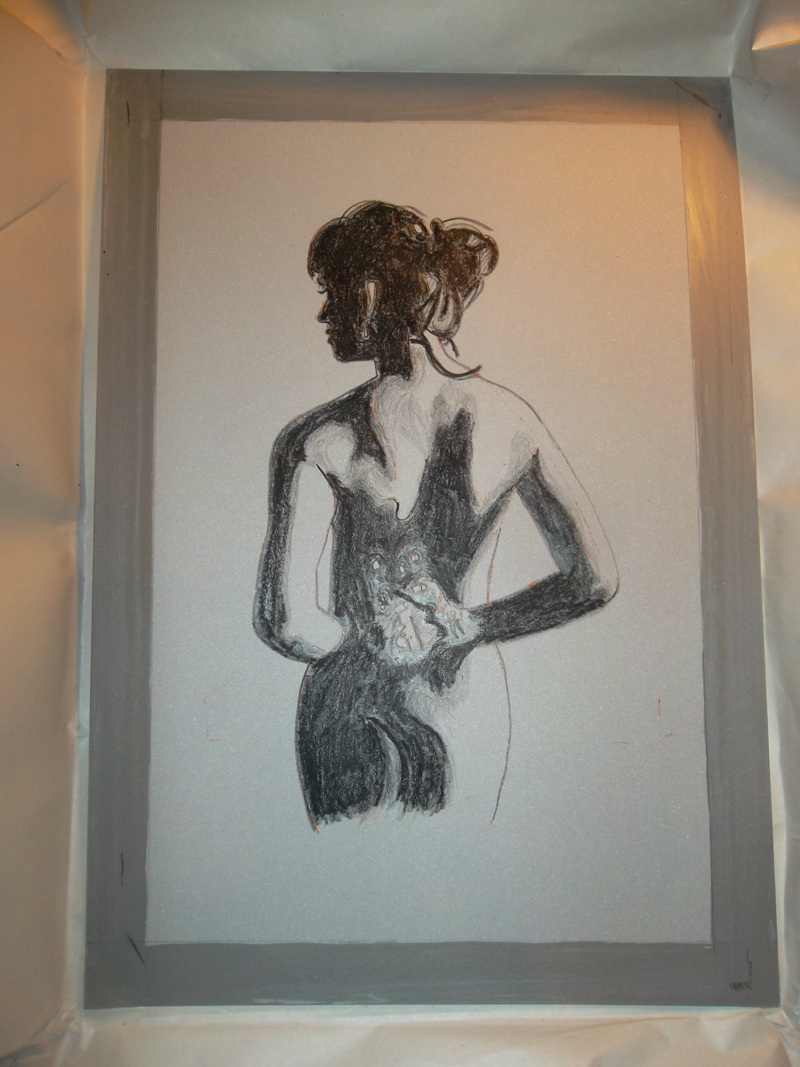
Next week we will learn how to process the plate for printing.
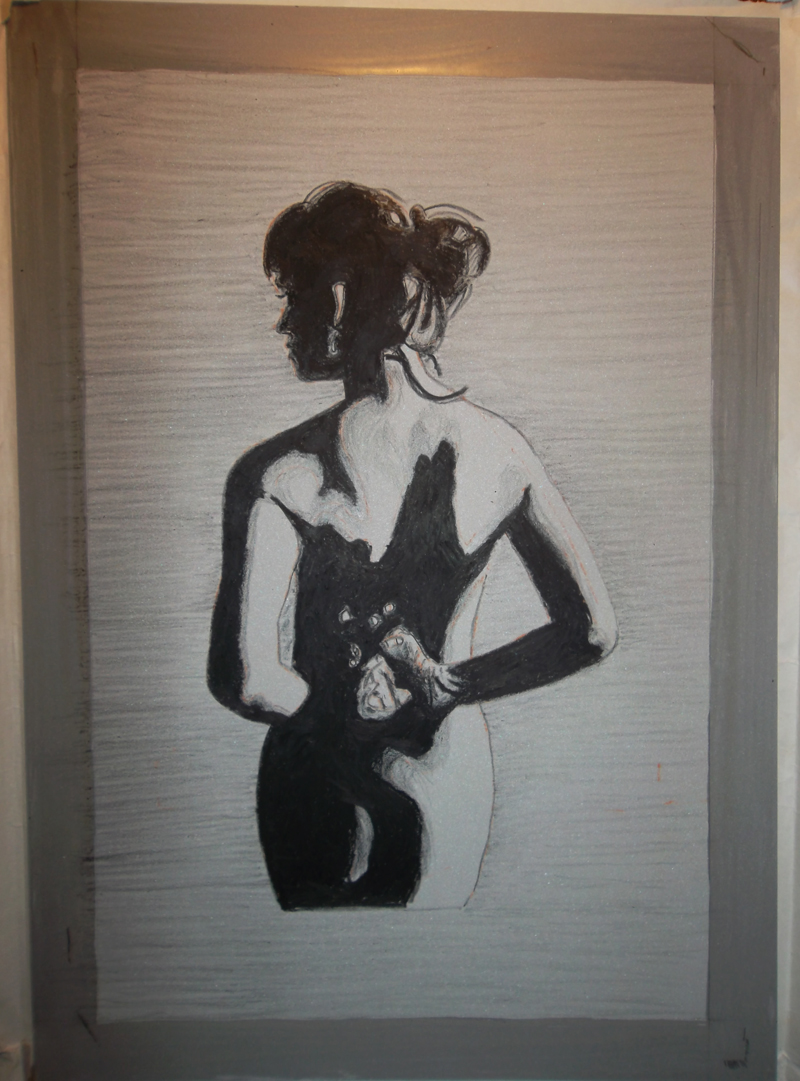
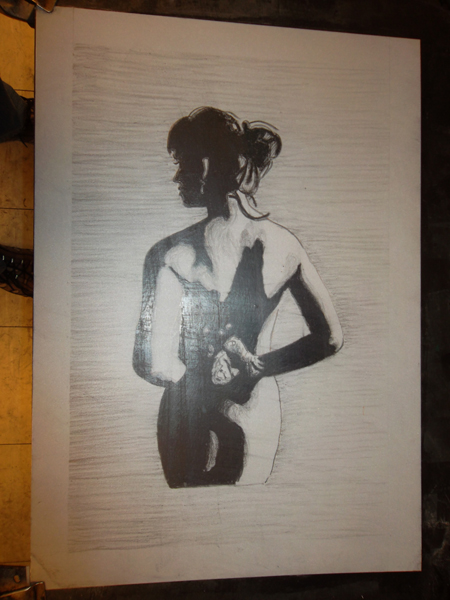
Next week has come and gone. During class our teacher felt the lithograph wasn't dark enough and needed a background. So I spent 2.5 hours working more grease into the picture and adding a background. I have to say I agree, it looks much better after reworking the picture. I think on the first attempt I moved too quickly which created peaks and valleys with the litho crayon. On the second attempt I tried to work slower, concentrating on trying to get and even, rich, dark tone.
Week Three
I was hoping to be able to create a print, however, the steps for processing the plate are many and on this second night we made it as far as the second etch, when class time ran out. So it is hoped, that during our last class, week four, we can make a lithograph print.
Complete Instructions - See for a copy of the class handout on Plate Lithography, we are following these instructions. During the third week we completed the instructions for processing the plate. Below are some pictures I took while completing the first and second etch.
Talc Step
The following is a picture of the plate after completing the TALC step. TALC was sprinkled on the plate and then brushed over the whole plate. Then gently buffed in.
Etch DRAWING Step
Using the ratio 1:3, 1/4 oz TAPEM and 3/4 oz straight gum. Half was poured on the plate, worked in with a brush, and then the second half was poured on and worked into the plate. The excess was wiped off and then buffed dry with a dry cheesecloth.
The image below shows the BUFFED etch.
LITHOTINE Step
This next step was a total surprise. But the entire image is washed. After all that work its gone!
ASPHALTUM Step
The plate is then washed with asphaltum and buffed down. The asphaltum provides a base for the ink. Any part that contained the original litho crayon will have a molecular layer of asphaltum
WASH OUT Step
This step washes out the gum and asphaltum. This removes most of the gum and asphaltum, but will leave a molecular level on the plate. The remaining portion on the non-printing areas are removed during the ROLL UP Step.
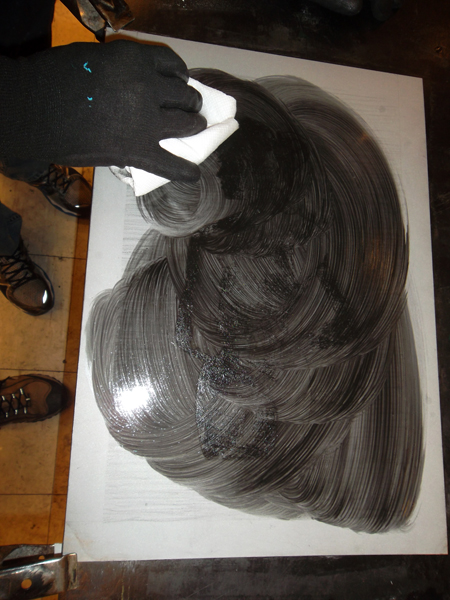
ROLL UP Step
After the asphaltum is buffed, the plate is washed with water and a sponge, and excess water is wiped away with a second dry sponge. The previously prepared ink is rolled onto the plate. Between rolling the plate is washed and wiped. This keeps it wet, and allows the rolling to lift excess asphaltum. Once all of the brown residue is gone. The roller is recharged with fresh ink, and the rolling/wetting process continues until the plate has the desired black.
Week Four
Finally, finally, we got to print tonight. The first thing we did was tear paper for printing, and mark the plate with lines to indicate the centers, a "T" at the top and little marks at the other centers. A razor blade is used to create the marks. The back of the paper is also marked. During printing, the marks are lined up.
The next thing we needed to do was complete the second etch. This is a repeat of the steps from last week:
- Lithotine - washes off the ink
- Asphaltum - provides the base for the ink
- Washout - removed most of the asplaltum, leaving a molecular layer for the ink to adhear to on the printing areas
- Roll Up - First removes the remaining asphaltum, and then inks the plates
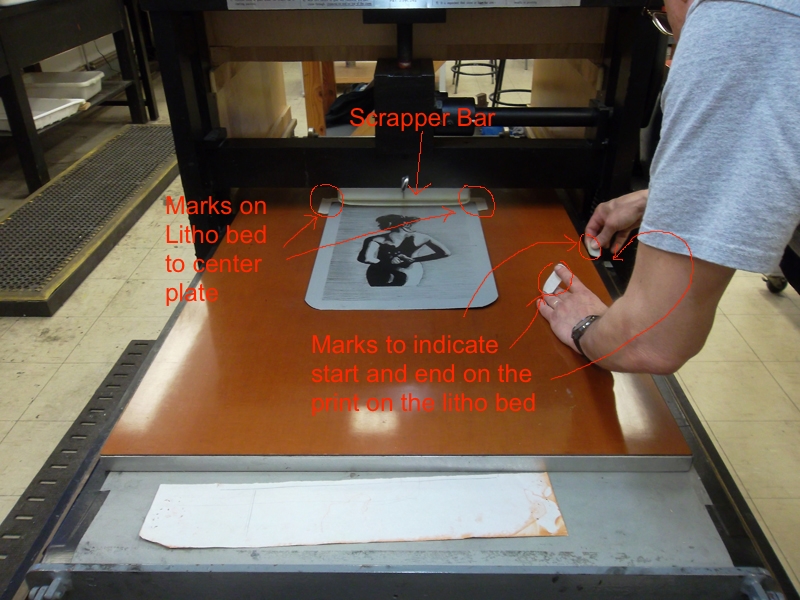
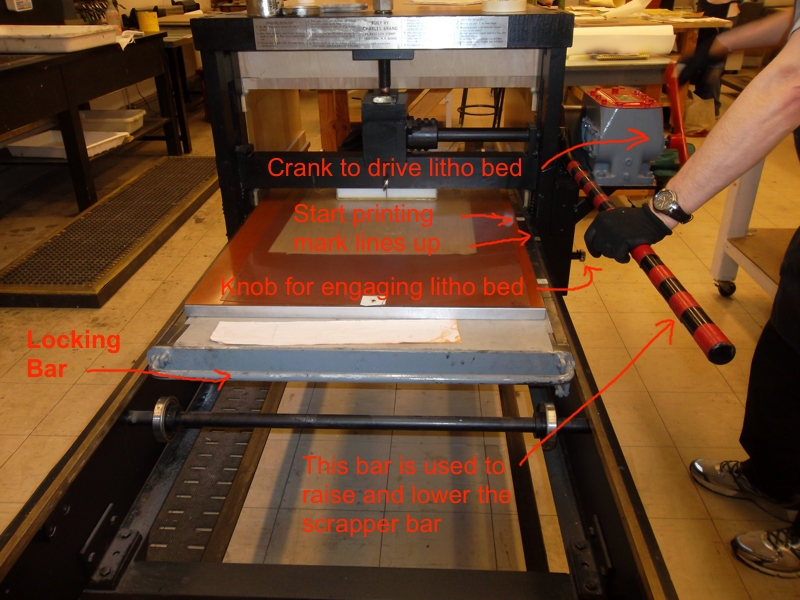
Once the plate is inked, its ready for a test print. So we needed to setup the press. The plate is centered on the litho press bed and an appropriate sized scrapper bar is chosen, which is just slightly longer then the with of the image. Once the scrapper bar is attached, masking tape is use to mark off areas. First the corners of the plates are marked on the printing bed. This is so the plate can be easily positioned for each print. Next along the sides of the litho bed, masking tape is used to indicate where printing starts and where it ends. These line up with an exist mark on the litho press frame.
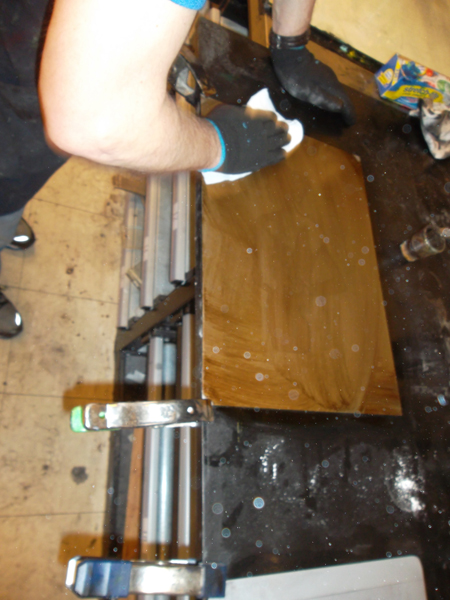
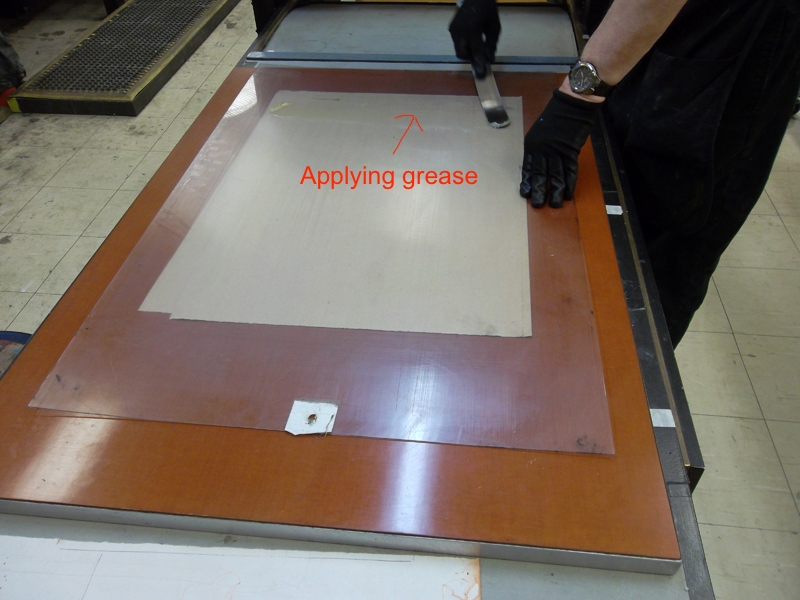
Once everything was marked, we were ready for a test print. We used the brown packaging paper for the test print. This is placed on top of the image. Two more sheets for padding, followed by a large sheet of plexiglass. The plexiglass is greased so that it can slide under the scrapper bar while maintaining constant pressure. The locking bar is raised and the litho bed is manually pushed forward so that the start of print mark is a couple of inches from the mark on the litho press frame. The litho bed drive is engaged and the bed is cranked forward until the starting mark lines up. Our teacher preset the pressure for the scrapper bar. The scrapper bar is lower into position, and the bed is cranked forward until the end of print mark lines up. The scrapper bar is lifted, the litho bed drive is disengaged, the locking is raised and the litho bed manually pulled out until you hear the "click". The grease on the plexiglass plate is scrapped and replaced to the area where printing starts. The plexiglass is removed, and the result of all this effort is examined.
Apply Grease
Printing
First Print
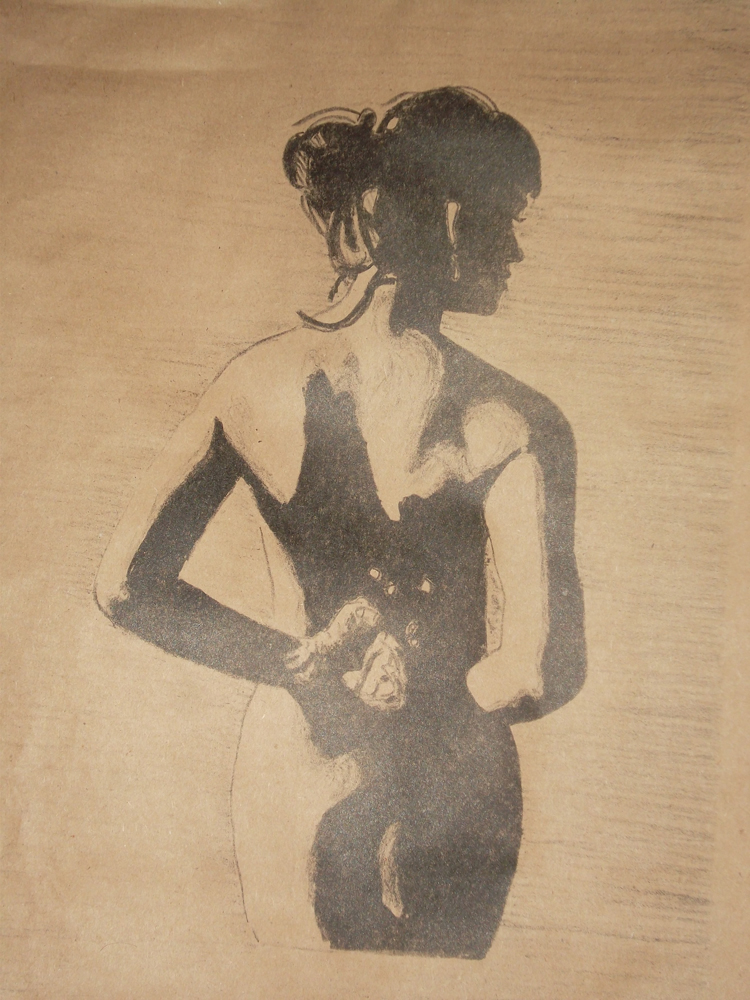
Final prints, the test print looks good, so now we are setup for making the actual prints. The plate is re-inked 3 times, and then the printing steps are performed.
Final Print

The entire process was long, but I am pleased with the final print.